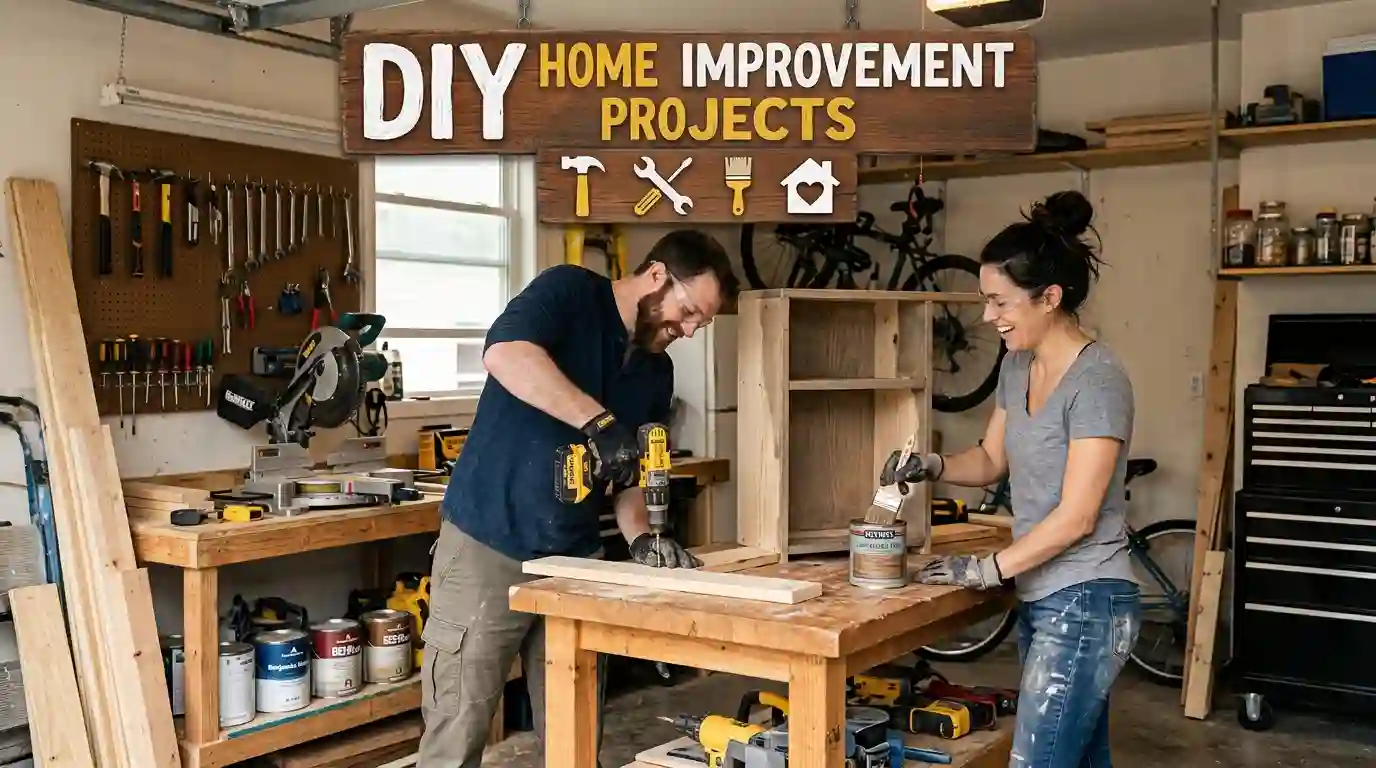
DIY home improvement projects are simple upgrades homeowners can complete themselves to improve a home’s appearance, comfort, organization, or energy efficiency. Popular options include painting walls, installing shelves, updating cabinet hardware, sealing drafty windows, and refreshing outdoor spaces. Start with a small project that fits your budget, skill level, and available time.
Thank you for reading this post, don't forget to subscribe!Key Takeaways
- Start with simple projects such as painting, shelving, and replacing cabinet hardware.
- Set a realistic budget and gather the right tools before beginning.
- Choose improvements that solve everyday problems or make your home more comfortable.
- Follow manufacturer instructions and use proper safety equipment.
- Hire a licensed professional for electrical, structural, gas, and other high-risk work when required.
DIY Home Improvement Projects
Introduction
You don’t need a large renovation budget to make your home look better or work more efficiently. Small changes, such as adding storage, refreshing tired walls, or improving window insulation, can make everyday living more comfortable without the cost of a major remodeling project.
DIY home improvement projects give homeowners a practical way to update their spaces while learning useful skills. Many beginner-friendly upgrades require only basic tools, affordable materials, and a free afternoon. Others, such as installing a backsplash or building outdoor planters, may take an entire weekend.
The key is to choose projects that match your experience, budget, and available time. A well-planned improvement can deliver lasting value, while a rushed project may create extra expenses. This guide covers ten practical ideas, explains how to choose the right project, and shares common mistakes to avoid so you can improve your home with confidence.
What Does “DIY Home Improvement Projects” Mean?
DIY home improvement projects are repairs, upgrades, or decorative changes that homeowners complete themselves instead of hiring a contractor for every task. DIY stands for “do it yourself.”
These projects can include painting a bedroom, installing floating shelves, organizing a pantry, or improving a home’s outdoor appearance. Some focus on style, while others improve storage, comfort, maintenance, or energy efficiency.
Homeowners commonly try DIY improvements to control costs, personalize their living spaces, and learn practical skills. However, a project that looks simple may require specialized knowledge, so it’s important to understand the risks before starting.
Why Try DIY Home Improvement Projects?
DIY improvements can make your home more comfortable without requiring a complete renovation. They also give you more control over materials, colors, timing, and spending.
Here are some key benefits:
- Save money: Avoid some labor costs on suitable projects.
- Personalize your space: Choose finishes and designs that fit your taste.
- Improve organization: Make better use of closets, walls, and storage areas.
- Learn useful skills: Build confidence with measuring, painting, and basic repairs.
- Spread out expenses: Complete smaller upgrades as your budget allows.
- Maintain your property: Address minor cosmetic problems before they become more noticeable.
Remember that DIY isn’t always cheaper. Mistakes, specialized tools, wasted materials, and repairs can increase the total cost.
10 Best DIY Home Improvement Projects
These ten ideas cover indoor upgrades, practical repairs, and outdoor improvements. Costs and completion times vary by location, materials, existing conditions, and your experience.
1. Paint a Room or Accent Wall
Small Apartment Renovation Under $5,000: The Ultimate Guide – BudgetDiyDen
Estimated cost: $50–$200 for a small room or accent wall, depending on paint and supplies.
Time: A few hours to two days, including drying time.
A fresh coat of paint can change the look of a bedroom, living room, or hallway. Choose a color that works with your furniture, natural light, and existing finishes.
How to do it:
- Move furniture away from the walls and cover the floor.
- Clean the surface and fill small holes.
- Apply painter’s tape around trim and other protected areas.
- Prime when needed, then apply paint according to the label.
- Allow sufficient drying time before replacing furniture.
Best tip: Test a small paint sample first. Colors often look different under morning sunlight and evening lighting.
2. Replace Cabinet Handles and Knobs
Estimated cost: $20–$100.
Time: One to three hours.
Old cabinet hardware can make a kitchen or bathroom feel dated. Replacing handles and knobs offers a simple update without removing the cabinets.
Measure the distance between existing screw holes before buying replacements. If the new hardware uses different measurements, you may need to fill and refinish the old holes.
Best tip: Keep the old hardware until you confirm that every new handle fits properly.
3. Install Floating Shelves
Estimated cost: $30–$150.
Time: Two to four hours.
Floating shelves provide extra storage without taking up floor space. Use them for books, framed photos, small plants, or lightweight decorative items.
How to do it: Measure the wall, locate suitable studs, mark the mounting points, and install the brackets according to the manufacturer’s instructions. Use anchors rated for the wall type and intended load when appropriate.
Best tip: Check the shelf’s weight limit before adding heavy objects. Secure mounting matters more than appearance.
4. Refresh a Bathroom With New Caulk
Estimated cost: $10–$40.
Time: One to three hours, plus curing time.
Worn or cracked caulk around a bathtub or sink can look unattractive and allow water to reach vulnerable areas. Replacing deteriorated caulk can improve the finish and help protect surrounding surfaces.
Remove the old caulk carefully, clean the joint, let the area dry, and apply a suitable bathroom sealant. Follow the product instructions for curing time before exposing it to water.
Best tip: Investigate persistent dampness, soft walls, or mold before resealing the area. Caulk cannot fix an underlying leak.
5. Add a Peel-and-Stick Backsplash
Estimated cost: $30–$150 for a small area.
Time: Three to six hours.
A peel-and-stick backsplash can refresh a kitchen or laundry area without traditional tile installation. Products vary in durability, heat resistance, and moisture suitability, so check the manufacturer’s specifications.
Clean and dry the surface, measure carefully, and test the material before covering the entire area. Around a stove, use only products specifically approved for the location and follow required clearance rules.
Best tip: Don’t apply adhesive panels over loose tiles, damaged drywall, or damp surfaces.
6. Upgrade Closet and Pantry Storage
Estimated cost: $25–$150.
Time: Two to five hours.
A disorganized closet can make even a spacious home feel crowded. Adjustable shelves, labeled bins, hooks, and drawer organizers can make everyday items easier to find.
Start by removing everything and grouping similar belongings together. Measure the available space before purchasing organizers, then place frequently used items where you can reach them easily.
Best tip: Plan storage around what you actually own instead of buying containers first.
7. Install Weatherstripping Around Doors
Estimated cost: $15–$60 per door, depending on the materials.
Time: One to two hours.
Drafts around exterior doors can make rooms uncomfortable and allow conditioned air to escape. Proper weatherstripping can reduce unwanted air movement and may improve comfort.
Inspect the door edges, choose a compatible weatherstripping product, and follow its installation instructions. Check that the door still closes and locks correctly after installation.
Best tip: Look for visible gaps on a windy day, but don’t block required ventilation or drainage openings.
8. Build a Small Outdoor Planter
Estimated cost: $25–$100.
Time: Two to four hours, depending on the design.
A simple planter can add color to a porch, patio, or backyard. You can build one from suitable outdoor-rated lumber or purchase a ready-made container and personalize its finish.
Choose weather-resistant materials, provide adequate drainage, and use a growing medium suited to your plants. Check that the planter can support the combined weight of the soil, water, and plants.
Best tip: Select plants based on your local climate and the amount of sunlight the location receives.
9. Update Interior Lighting Without Rewiring
Estimated cost: $15–$100.
Time: About 30 minutes to two hours.
Better lighting can make a room feel more inviting and useful. Start with low-risk changes such as replacing compatible bulbs, adding plug-in lamps, or placing task lighting near a desk or reading chair.
Check bulb type, brightness, color temperature, and fixture ratings before purchasing replacements. Keep cords away from walkways and follow electrical safety instructions.
Best tip: Layer ambient lighting with task lighting rather than relying on one bright overhead bulb.
Leave new wiring, circuit changes, and unfamiliar electrical work to a qualified professional.
10. Refresh Your Front Entry
Estimated cost: $30–$200.
Time: Two hours to a weekend.
Your entryway creates the first impression of your home. A clean doormat, attractive planters, a tidy porch, and a freshly painted door can improve its appearance without a major renovation.
Clean the entrance, remove clutter, and choose weather-resistant decorations. If you paint the door, confirm that the coating suits its material and that weather conditions are appropriate.
Best tip: Focus on cleaning and repairing visible wear before spending money on decorations.
Comparison Table
| Project | Best Used For | Difficulty |
|---|---|---|
| Paint a room | Refreshing interior spaces | Easy |
| Replace cabinet hardware | Updating kitchens and bathrooms | Easy |
| Install floating shelves | Adding wall storage | Easy to moderate |
| Refresh bathroom caulk | Maintaining sealed joints | Moderate |
| Peel-and-stick backsplash | Decorative kitchen updates | Easy to moderate |
| Improve closet storage | Reducing clutter | Easy |
| Install weatherstripping | Reducing drafts | Easy |
| Build an outdoor planter | Improving outdoor spaces | Easy to moderate |
| Upgrade lighting with bulbs and lamps | Improving room lighting | Easy |
| Refresh the front entry | Boosting curb appeal | Easy |
Difficulty depends on the materials, tools, and condition of the existing space.
Common Mistakes to Avoid
- Starting without a budget: Include tools, supplies, delivery, and a small allowance for unexpected expenses.
- Skipping measurements: Incorrect measurements can lead to wasted materials, poorly fitted shelves, and extra trips to the hardware store.
- Choosing the wrong materials: Indoor paint, unsuitable adhesives, and untreated wood may fail in damp or outdoor environments.
- Ignoring safety: Use eye protection, suitable ventilation, and the right equipment. Check for lead paint before disturbing older painted surfaces, especially in homes built before 1978 in the United States.
- Taking on work beyond your skills: Structural changes, gas lines, major plumbing, and electrical modifications can create serious hazards. Check local permit requirements and hire qualified professionals when necessary.
Frequently Asked Questions
1. What are the easiest DIY home improvement projects for beginners?
Painting a small wall, replacing cabinet knobs, organizing a closet, and adding decorative accessories are good starting points. These projects usually require basic supplies rather than specialized equipment. Choose one with a clear goal and manageable scope, then move on to more complex work as your skills improve.
2. What DIY home improvement projects can I do on a budget?
Consider repainting a room, installing inexpensive hooks, refreshing cabinet hardware, organizing pantry shelves, or improving your front entry. Reusing existing materials can reduce expenses further. Compare the cost of supplies with the price of hiring a professional before deciding whether doing the work yourself makes financial sense.
3. Which DIY projects can I finish in one weekend?
Many homeowners can complete a small painting job, a closet organization project, or a simple planter over a weekend. Installing shelves may also fit that schedule when the wall and mounting requirements are straightforward. Allow extra time for preparation, drying, cleanup, and unexpected problems.
4. Do DIY home improvement projects increase home value?
Some improvements can make a property more appealing to buyers, especially when they improve maintenance, appearance, or everyday function. However, no project guarantees a higher sale price. Results depend on local market conditions, workmanship, costs, and buyer preferences. Keep receipts and avoid upgrades that cost far more than the likely benefit.
5. What tools should every beginner have?
A useful starter kit includes a tape measure, level, screwdrivers, hammer, utility knife, pliers, safety glasses, and a basic set of drill bits. A stud finder can also help with wall-mounted projects. Buy specialized tools only when needed, and learn how to use each tool safely before starting work.
6. How can I make home improvements without hiring a contractor?
Begin with cosmetic updates, basic organization, and minor maintenance tasks that match your abilities. Read product instructions, prepare the work area, and calculate the total cost before purchasing supplies. For work involving structural safety, complex electrical systems, gas, or major plumbing, consult a qualified professional.
7. Are DIY home improvement projects worth the effort?
They can be worthwhile when the task is manageable, the materials are affordable, and you have enough time to do the work correctly. DIY can also teach practical skills and help you personalize your home. However, poor workmanship or an unexpected repair can erase the savings, so compare the risks and costs first.
8. How do I choose the right DIY project for my home?
Identify a problem you want to solve, such as limited storage, worn paint, drafts, or a cluttered entryway. Set a budget, estimate the time required, and check whether the project needs special tools or permits. Start with a small improvement that offers a clear benefit without creating unnecessary risk.
Conclusion
DIY home improvement projects can help you create a more attractive, comfortable, and organized home without committing to a major renovation. From painting a room and updating cabinet hardware to improving storage and refreshing your front entry, small changes can make a noticeable difference.
The best project depends on your budget, available time, and experience. If you’re a beginner, start with a simple task that requires basic tools and offers a clear result. As you gain confidence, you can explore more involved upgrades while paying close attention to safety and preparation.
Before starting, compare material costs, read product instructions, and set aside time for cleanup and unexpected problems. Remember that doing everything yourself isn’t always the cheapest or safest option.

I am a fan of thrilling mysteries inspired by the genius storytelling of Dan Brown, exploring secrets, symbols, and suspense while sharing exciting stories on flirtzdream.com.